Managing Densify User Accounts
Managing Densify User Accounts
#380530
Creating Densify User Accounts
If your role requires you to create additional users, you need to also be added to the SaaS_User_Admin group. Membership in this group allows you to create Densify-specific user accounts. Users with these roles have full access to the Densify Console.
If you need to create, edit or delete cloud connections through the Cloud Connection wizard, you also need to have the SaaS_Audit_Admin role assigned.
Creating New Account
To create a new user:
- In the Densify Console click the User icon in the top right corner of the page.

- Select User Management.
- Enter the required user details:
- A user name—This name will be the user ID. It will be displayed in the User's pane. The User Name can contain alphanumeric characters (i.e. A-Z, a-z, 0-9). It can also be also be specified as an email address (i.e. <user_name>@<domain_name>).
- Email address—The user's password creation information will be sent to this email address.
- User group—This user can be a member of SaaS_User, SaaS_User_Admin, SaaS_Audit_Admin or Report Designer or any combination. See User Groups, below.
- Open ID Enabled—Densify detects when OpenID is enabled and displays this setting. Enable this setting to direct users to their OpenID authentication portal. If not selected, Densify's login process will be used
- Click Send Password Reset Link. This link expires after 24 hours.
If Open ID is enabled, the user must exist in their OpenID provider before they can access Densify. Users that are created here must use the same email address as their user ID in Azure, Okta or Google.
Note: A user must belong to either the SaaS_User or SaaS_User_Admin group before they can be added to the Report Designer groups.
Optionally, click Save to save the new user. You can send the create password email later, if you know the intended user is not available for the next 24-hours.

Completing Account Setup
- An email containing further instructions is sent to the specified email. A confirmation message is displayed.
- The email that is sent to the user contains a URL and a request to create their new password.
- The user then needs to login to the specified URL and click the "Reset Password" link on the login page to set their password and to confirm their email address.
- Another email is sent to the specified email address. Click the "Reset Password" link. The intended user has 24 hours to complete the process, before the URL expires and you will need to resend the create password email.
- The user is directed to your instance and is prompted to create their password. The password must comply with the password policy defined for your Densify instance. Contact [email protected] for details on configuring your password policy.
In order to support Densify SaaS users, the following pre-defined user groups are included in Densify:
- SaaS_User group—A user assigned to this group has full access to the Densify Console, view access to the Control Console and no access to the Analysis Console.
- SaaS_User_Admin group—A user assigned to this group has the same access to the Densify Console as the SaaS_User group plus the ability to create and manage specific Densify Console user accounts.
- SaaS_Audit_Admin group—A user assigned to this groupcan create, edit or delete cloud audits, but cannot manage user accounts.
- Report Designer—A user assigned to this group has access to the report creation features in the Densify Console. A user must belong to either the SaaS_User or SaaS_User_Admin group before they can be added to the Report Designer group.
Modifying and Deleting User Accounts
You can edit a user's settings, by selecting the user and updating the required settings. Click Save to save the changes to the selected user account.
Note: Only users with membership in SaaS_User, SaaS_Audit_Admin or SaaS_User_Admin groups are displayed in the Users list. If the user is also added to any other group, then this user will not be displayed in the Users list.
You can delete the account by selecting it from the list and clicking the Delete button.
Note: You cannot delete your own account.
Locked User Accounts
Users may be re-directed to a login page with the following error message: "We were unable to complete the password reset process. Please contact support if you require assistance."
This message is displayed if the user account has been locked. The account can be locked for the following reasons:
- Your trial period has expired;
- You have failed to provide a valid password more than 3 times. This value is configurable.
- You have tried but failed to reset your password more than 3 times. This value is configurable.
If account is locked you will be re-directed to the login page with the following error message: "We were unable to complete the password reset process. Please contact support for assistance."
Resetting Account Passwords
You can reset the user's password:
- Select the user, edit the email field and then click the Send Password Reset Link button. The process is the same as listed above.
- The email is sent to the user containing their login details including their UID and a request to reset their password.
- The user then needs to login to their instance and reset their password. Their password must comply with the password policy defined for your Densify instance.
Enhanced User Authentication
For added security you can authenticate using:
- 2-factor authentication. Contact [email protected] for details.
- Use an identity provider and an OpenID acceptor, such as Ping Identity, Okta or Azure Active Directory. See Configuring External User Authentication. Contact [email protected] for additional configuration details.
Note: Once Open ID is enabled, users must exist in their OpenID provider before they can access Densify. Users that are created in the Densify user management console must use the same email address as their user ID in Azure, Okta or Google.
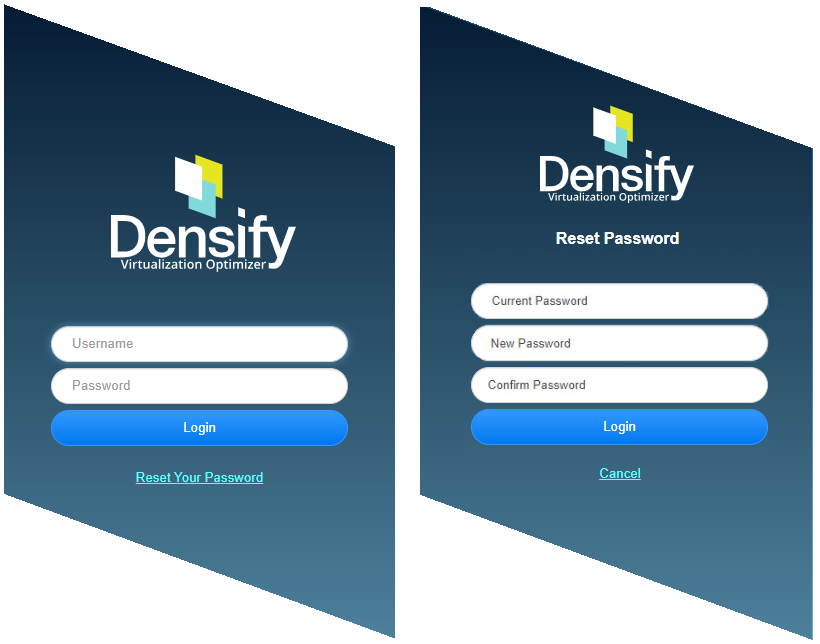
Any user can change their own password at anytime. To change your own password:
- In the Densify Console click the User icon in the top right corner of the page.
- Select Reset Password. This option is also available from the login dialog box.
- Enter you new password. The password must comply with the password policy defined for your Densify instance. Contact [email protected] for details.
- Click Submit to change your password.
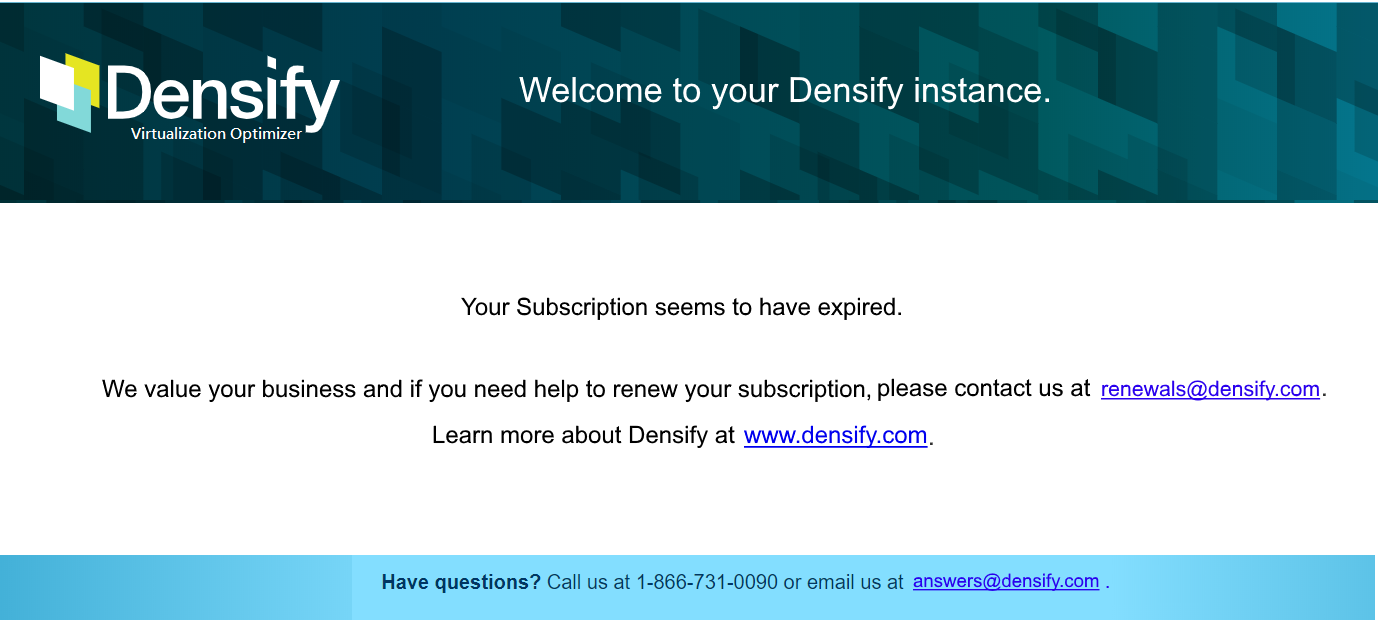
When your Densify subscription expires, either at the end of the free trial or license term, you will be contacted by Densify with details on how to renew your license.